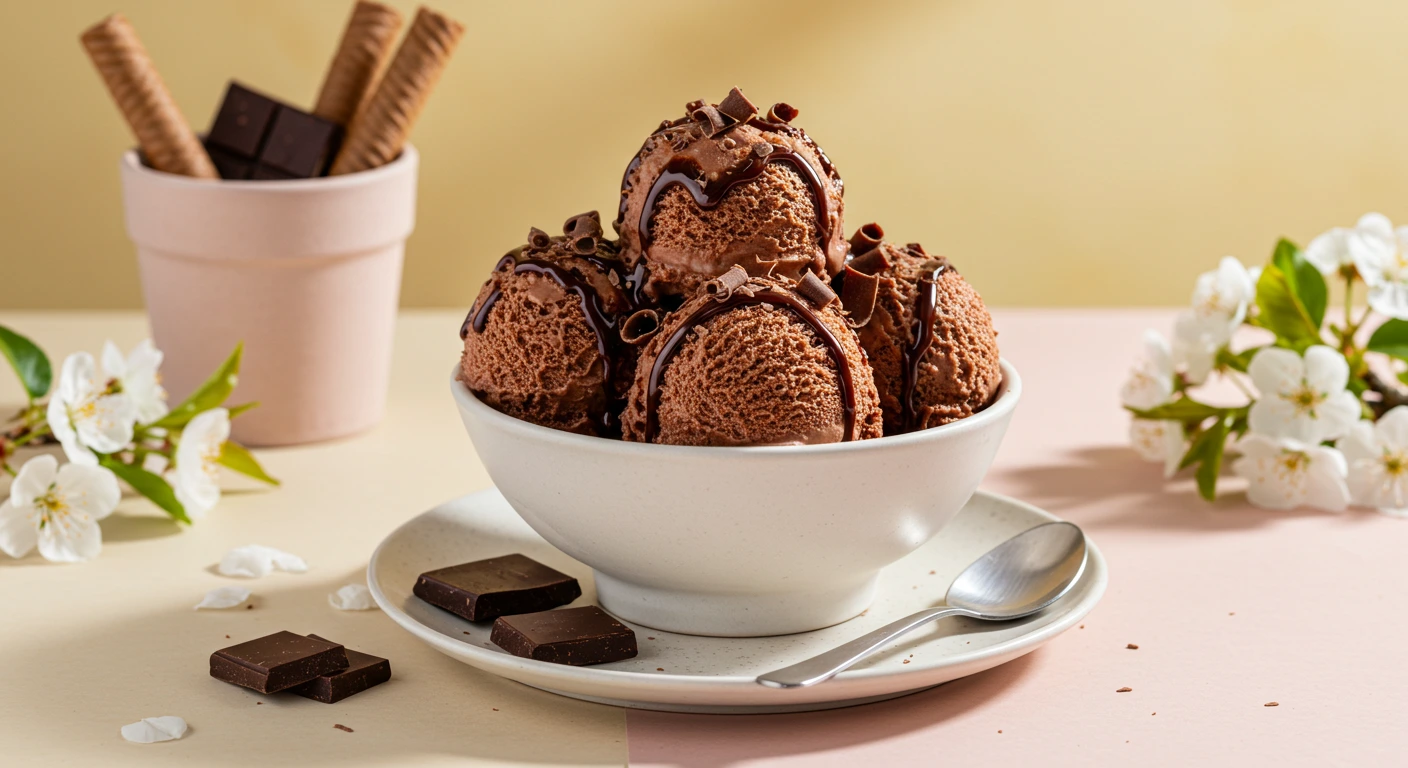
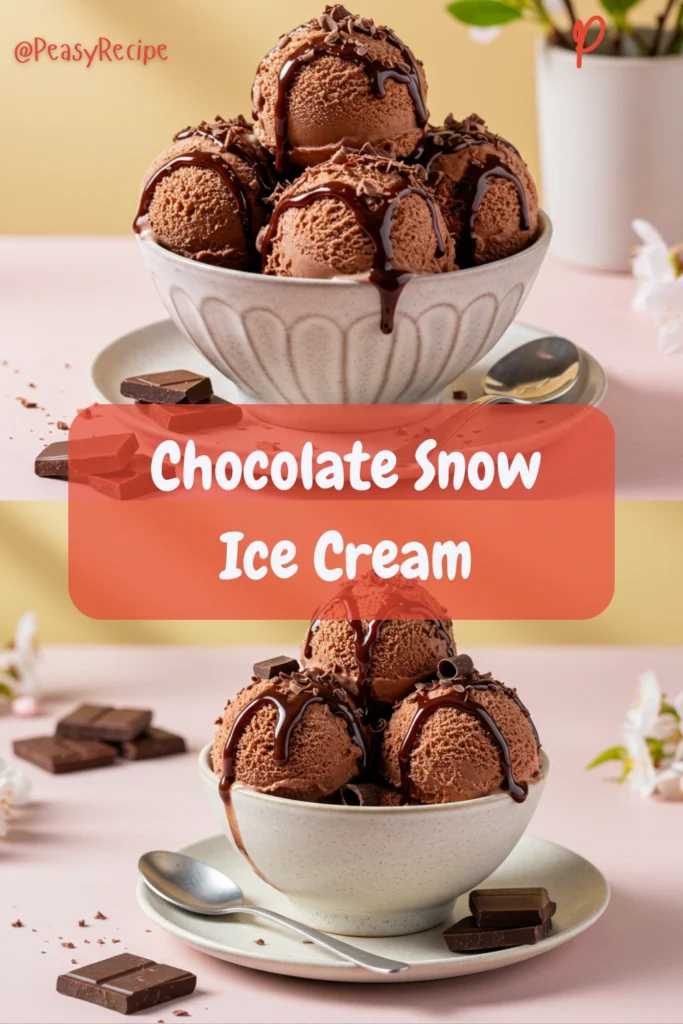
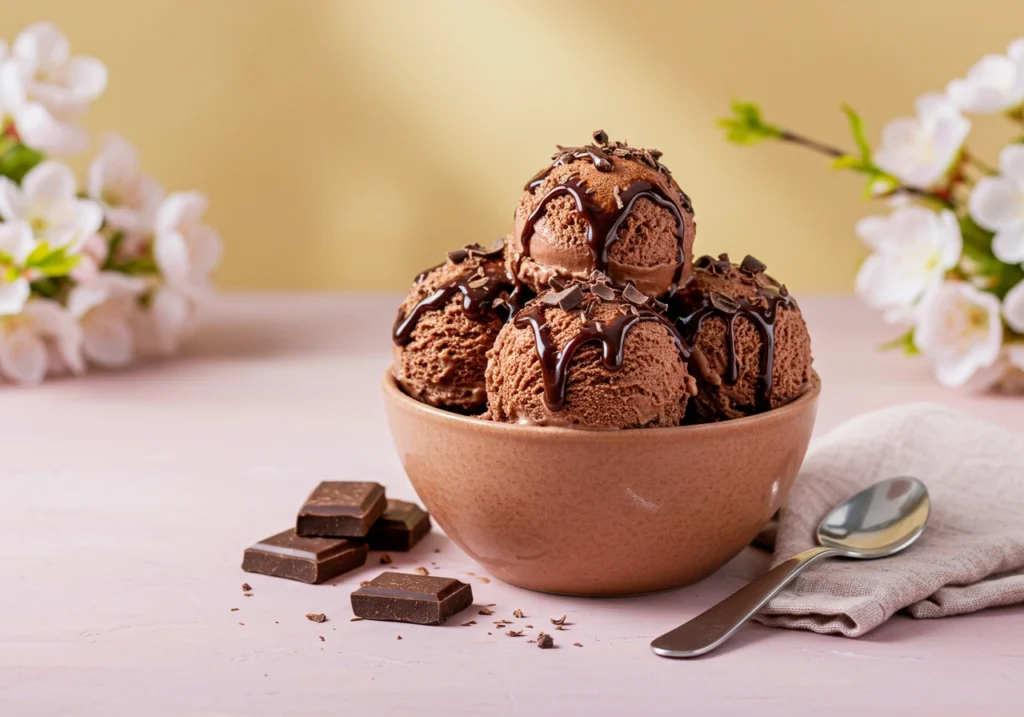
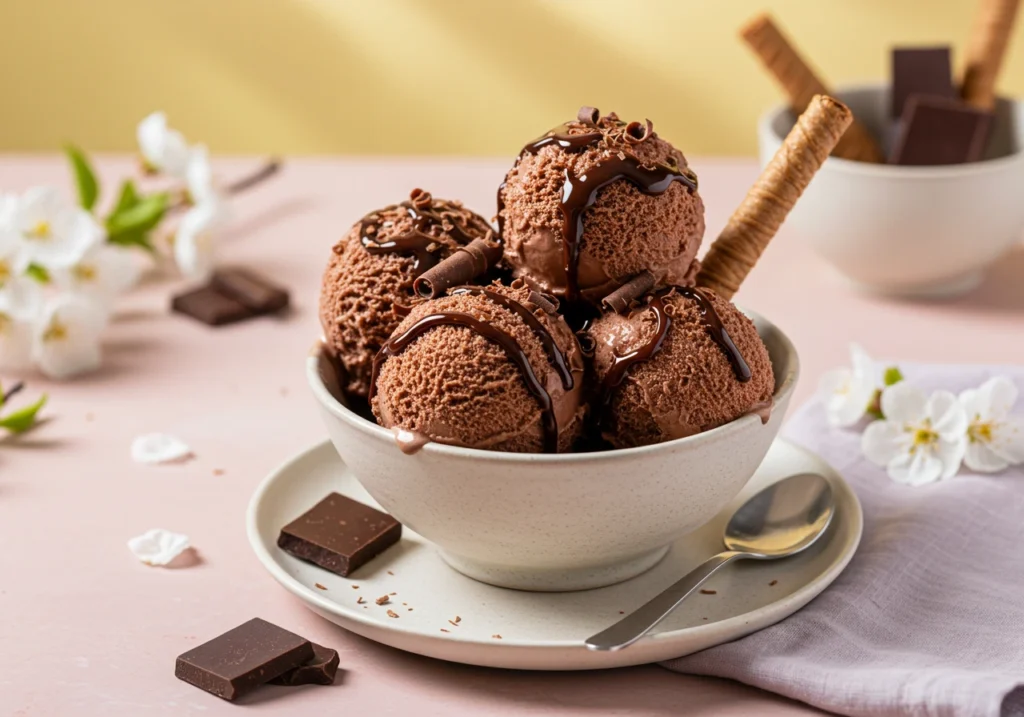
There’s something magical about turning fresh, fluffy snow into a creamy, dreamy dessert. This Chocolate Snow Ice Cream recipe is the perfect way to celebrate spring’s charm while satisfying your sweet tooth. With its rich cocoa flavor, velvety texture, and customizable toppings, this dessert is a fun and unique treat that’s sure to delight kids and adults alike.
What makes this recipe stand out? It’s incredibly easy to make, requires no fancy equipment, and uses simple ingredients you likely already have in your pantry. Plus, it’s a fantastic way to enjoy the snowy season in the USA, whether you’re hosting a spring gathering or simply craving a cozy dessert. Let’s dive into this delightful recipe!
Table of Contents
Why You’ll Love This Recipe
- Quick and Easy: Ready in just 30 minutes, this no-churn ice cream requires no ice cream maker.
- Fun for All Ages: A great activity for families to enjoy together during snowy days.
- Customizable: Add your favorite toppings like crushed cookies, sprinkles, or caramel sauce.
- Budget-Friendly: Made with pantry staples and fresh snow, it’s an affordable treat.
- Seasonal Delight: A unique way to celebrate spring and make memories.
Quick Recipe Overview
| Category | Details |
|---|---|
| Preparation Time | PT10M |
| Cooking Time | PT0M |
| Total Time | PT10M |
| Type | Dessert |
| Cuisine | American |
| Recipe Yield | 4 servings |
| Calories | ~200 calories per serving |
Recipe Ingredients
Here’s what you’ll need to make this delicious Chocolate Snow Ice Cream:
| Ingredient | Quantity |
|---|---|
| Fresh, clean snow | 8 cups |
| Whole milk | 1 cup |
| Granulated sugar | 1/2 cup |
| Unsweetened cocoa powder | 1/4 cup |
| Vanilla extract | 1 tsp |
| Salt | 1/8 tsp |
Optional Toppings:
- Whipped cream
- Chocolate chips
- Crushed cookies
- Sprinkles
- Caramel or chocolate syrup
Recipe Instructions
Follow these simple steps to create your Chocolate Snow Ice Cream:
- Gather Fresh Snow:
- Collect 8 cups of fresh, clean snow. Make sure the snow is untouched and free from debris.
- Prepare the Chocolate Mixture:
- In a medium bowl, whisk together the milk, sugar, cocoa powder, vanilla extract, and salt until smooth. Ensure the sugar is fully dissolved.
- Combine Snow and Chocolate Mixture:
- In a large mixing bowl, pour the chocolate mixture over the snow. Gently fold the snow into the mixture until fully combined. The texture should be creamy and smooth.
- Serve Immediately:
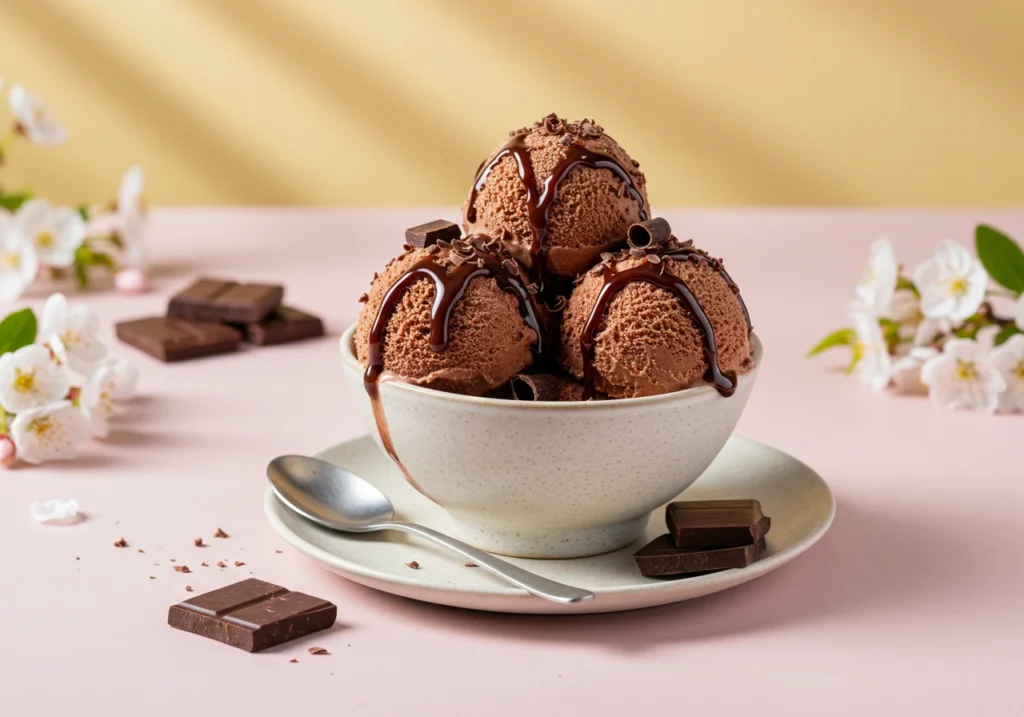
- Scoop the ice cream into bowls or cones. Add your favorite toppings like whipped cream, chocolate chips, or sprinkles.
- Enjoy!
- Serve right away for the best texture and flavor.
Conclusion
This Chocolate Snow Ice Cream is a delightful spring treat that’s as fun to make as it is to eat. With its rich chocolate flavor and creamy texture, it’s the perfect way to celebrate snowy days. Plus, it’s customizable, so you can add your favorite toppings to make it your own.
We’d love to hear how your Chocolate Snow Ice Cream turns out! Share your experience in the comments below or tag us on social media with your creations. Don’t forget to check out our other seasonal recipes for more delicious ideas!
FAQs
1. How do I ensure the snow is safe to use?
Always collect snow from a clean, untouched area. Avoid snow that’s been near roads or exposed to pollutants.
2. Can I use a milk alternative?
Yes! Almond milk, oat milk, or coconut milk work well as substitutes.
3. Can I make this recipe without cocoa powder?
Absolutely! Skip the cocoa powder and add a splash of maple syrup or fruit puree for a different flavor.
4. How long can I store the ice cream?
This dessert is best enjoyed immediately. If stored in the freezer, it may become icy.
5. Can I add mix-ins like cookies or nuts?
Yes! Fold in crushed cookies, nuts, or chocolate chips for added texture and flavor.
Wrapping It Up
spring is the perfect time to get creative in the kitchen, and this Chocolate Snow Ice Cream recipe is a fantastic way to do just that. It’s simple, fun, and absolutely delicious—a treat that’s sure to bring smiles to everyone’s faces. So, grab your mittens, head outside for some fresh snow, and whip up this delightful dessert today. Happy cooking!